It is 4pm. Your neck aches, your lower back is stiff, and you have been shifting in your chair for the last hour trying to get comfortable. Sound familiar? For most people who sit at a desk all day, this is just how work feels. But it does not have to be. The pain is not caused by working hard, it is caused by a setup that quietly works against your body. Fix the setup, and the pain fades.
This is the complete guide to an ergonomic desk setup. Step by step, from screen height to cable clutter, so you can build a workspace that supports your body instead of straining it. No expensive overhaul needed.
Why your desk setup matters more than you think
Your body is not designed to sit still and stare down at a screen for eight hours. When your setup forces your head forward and your shoulders to round, the strain adds up rep by rep, hour by hour. Over weeks and months that becomes the neck pain, back pain and fatigue that so many desk workers just accept as normal.
A good ergonomic setup does three things: it brings your screen to eye level, keeps your joints in neutral positions, and encourages small movement. Get those right and you protect your neck, back and wrists, and you feel sharper at the end of the day.
Step 1: Get your screen to eye level
This is the single biggest fix, and the one almost everyone gets wrong. When you look down at a laptop, your head tips forward. Your head weighs around 5 kilos, and every centimetre forward multiplies the load on your neck. That is why laptop users get neck and upper-back pain.
The fix is simple: raise the top of your screen to roughly eye level so you look straight ahead. A laptop stand does this in seconds, and an adjustable one lets you set the exact height for your body. If you work mostly on an external monitor, store your laptop upright in a vertical stand and raise the monitor instead.
Step 2: Fix your keyboard and mouse position
Once your screen is up, your hands need to stay low. When you type, your elbows should sit at roughly 90 degrees and your wrists should stay straight, not bent up or down. If raising your laptop pushes the keyboard too high, add an external keyboard and mouse so your screen stays high and your hands stay low. This split is the core of a comfortable setup.
Step 3: Sit so your body is supported
Ergonomics is not only about gear, it is about how you sit:
- Feet flat on the floor, or on a footrest if they dangle.
- Knees roughly level with your hips.
- Lower back supported by the chair or a lumbar cushion, so you are not slumping.
- Shoulders relaxed, not hunched up toward your ears.
If your lower back aches after sitting, that is usually a sign your spine is not supported and you are collapsing into a C-shape. Support the lower back and the strain drops immediately.
Step 4: Clear the clutter and tame your cables
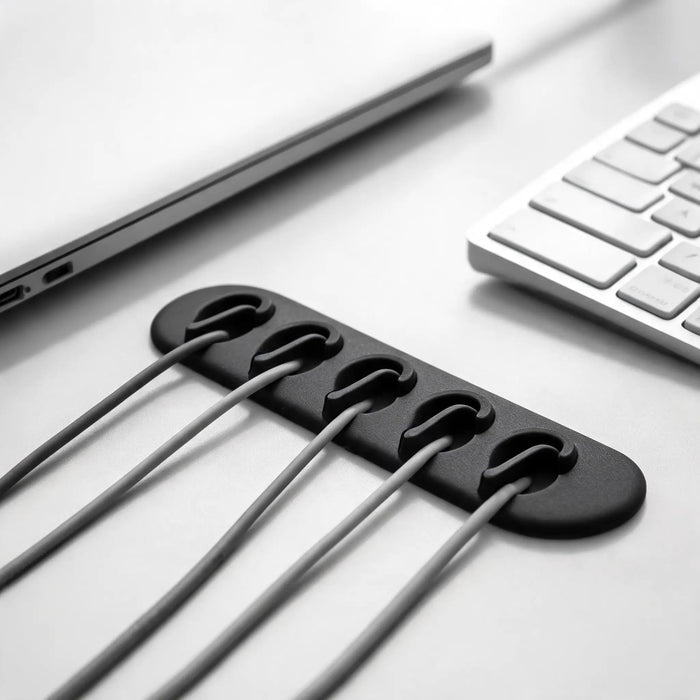
A messy desk is friction, and tangled cables are the worst offender. When your charger slides behind the desk five times a day, that is five small frustrations that break your focus. Anchor your cables with a cable dock so they stay within reach, and keep only what you use daily on the surface.
Step 5: Build movement into your day
No setup is perfect if you never move. The best posture is the next posture. Stand up every 30 to 45 minutes, roll your shoulders, and look away from the screen. A two-minute reset every half hour does more for your back than any single gadget.
Laptop on the desk vs on a stand
| Setup | Neck load | Screen height | Cooling |
|---|---|---|---|
| Laptop flat on desk | High (head tips forward) | Too low | Poor airflow |
| Laptop on a stand | Low (neck neutral) | Eye level | Open, runs cooler |
Common ergonomic mistakes to avoid
- Working off a flat laptop all day is the number one cause of desk-related neck pain. Raise the screen.
- Screen too high or too far makes you crane or lean. Top of screen at eye level, about an arm's length away.
- No lower-back support leads to slumping and back ache. Support the lumbar curve.
- Sitting frozen for hours undoes any setup. Move regularly.
Your ergonomic desk checklist
- ✅ Top of screen at eye level (laptop stand)
- ✅ Elbows at 90 degrees, wrists straight
- ✅ Feet flat, knees level with hips
- ✅ Lower back supported
- ✅ Shoulders relaxed
- ✅ Cables anchored and tidy (cable dock)
- ✅ Stand and stretch every 30 to 45 minutes
Frequently asked questions
How do I set up an ergonomic desk on a budget?
Start with the highest-impact change: a laptop stand to bring your screen to eye level. Add an external keyboard and mouse, support your lower back, and keep your feet flat. These few changes fix most desk-related pain without a big spend.
How high should my monitor or laptop be?
The top of the screen should sit at or just below eye level, and about an arm's length away, so you look slightly down without bending your neck.
Why does my neck hurt after working at my desk?
Most desk-related neck pain comes from looking down at a screen that is too low, which tips your head forward and loads your neck. Raising the screen to eye level with a stand is the usual fix.
Does a laptop stand really help with back and neck pain?
Yes. By lifting the screen so you sit upright instead of hunching, a laptop stand keeps your neck and back in a more neutral position, which reduces the strain that builds up over a long day.
Keep reading
Best Laptop Stands 2026
Compare adjustable, vertical and portable stands and pick the right one for your setup.
Desk Cable Management Ideas
Simple ways to tidy your desk cables and stop them falling behind the desk.
Build your ergonomic setup with ArcosGear
Next steps for your desk setup
Build the setup in layers: screen height, back support, neck comfort, and cable control.
Next step
Build the setup around this guide.
Build the desk in layers: screen height, cable control, seat comfort, and the few tools you use every day.